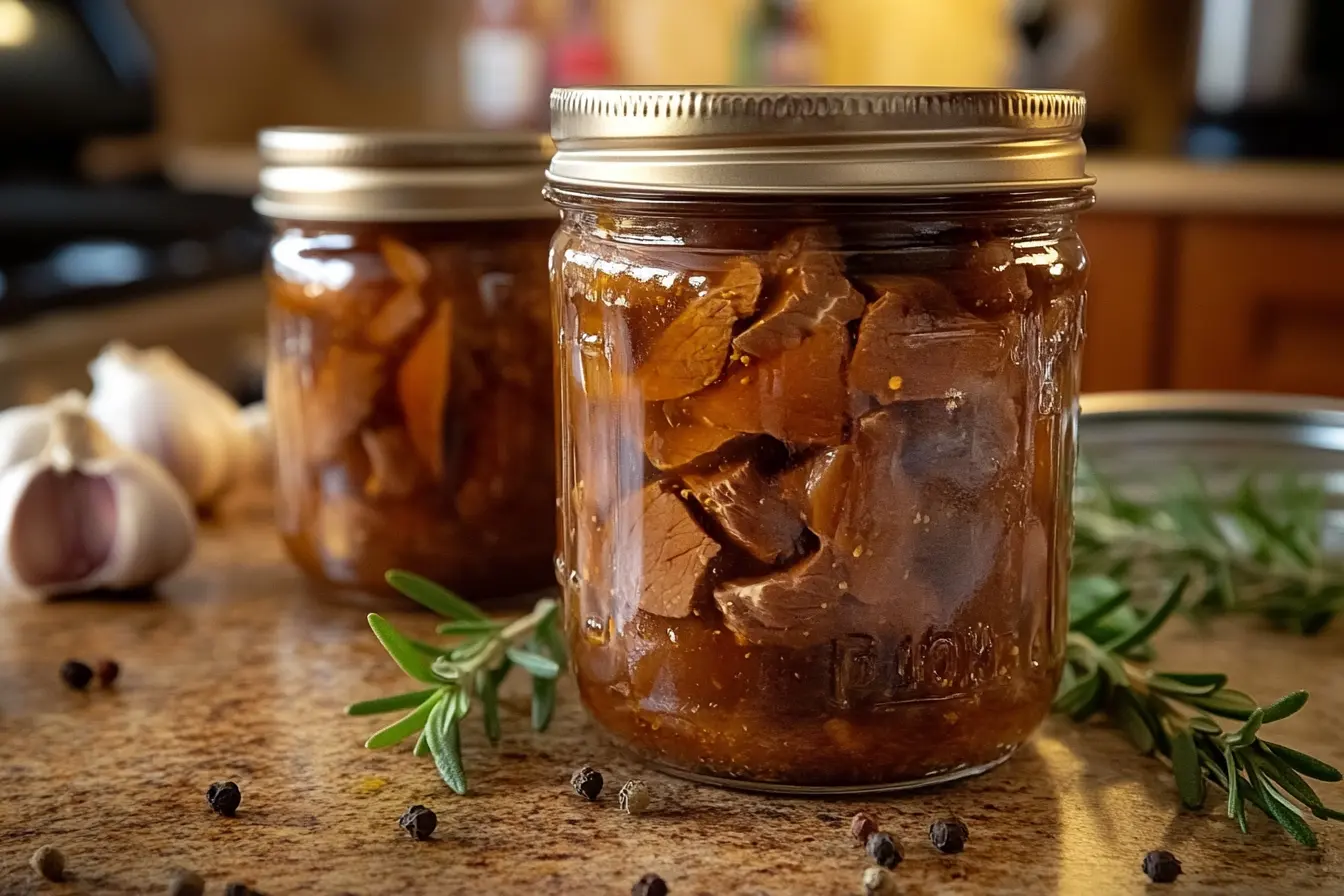
If you’ve ever wondered how to preserve the rich, hearty taste of venison and enjoy it long after the hunting season ends, you’ve come to the right place. This step-by-step canned venison recipe is designed specifically for beginners who want to master the art of home canning wild game safely and deliciously. By following this guide, you’ll gain confidence in canning, ensuring your venison stays fresh and flavorful for months to come. Whether you are a hunter, a food enthusiast, or simply someone looking to prepare wholesome meals, this recipe will help you savor venison anytime, anywhere.
Table of Contents
Why Choose Canned Venison? Benefits and Basics
You might ask, why should you consider canning your venison? Venison is a lean, protein-rich meat loaded with vitamins and minerals that promote a healthy diet. According to USDA nutritional data, venison contains high levels of iron, zinc, and vitamin B12 while being lower in fat compared to beef. Preserving it through canning allows you to lock in these nutrients, making your supply last well beyond the fresh meat’s short refrigerator life.
Canning venison also offers convenience. Once canned, the meat requires no refrigeration until opened, making it perfect for stocking your pantry, camping trips, or emergency preparedness. Unlike freezing, canning avoids freezer burn and flavor degradation, preserving venison’s taste and texture.
However, it’s crucial to follow food safety standards rigorously when canning meat. The USDA and many university extension services emphasize using pressure canners for low-acid foods like venison to prevent the risk of botulism. This canned venison recipe respects those safety measures to keep your family healthy and happy.
Essential Equipment and Ingredients for Canning Venison
Before diving into the canning process, you need to prepare the right equipment and ingredients. Setting yourself up correctly ensures a smooth canning experience and delicious results.
What You’ll Need — Equipment Checklist
- Pressure Canner: A must-have for safely canning venison. Unlike water bath canners, pressure canners reach higher temperatures essential for killing bacteria in low-acid meats. Make sure your canner fits your jar size and follow manufacturer guidelines.
- Canning Jars: Standard Mason jars (usually pint or quart size) with two-piece lids — metal flat lids and screw bands.
- Jar Lifter and Funnel: For safely handling hot jars and filling them without mess.
- Sharp Knife and Cutting Board: For preparing the venison.
- Measuring Spoons: To measure salt and spices precisely.
- Clean Towels: To wipe jar rims before sealing.
Ingredients for the Recipe
| Ingredient | Quantity (Per Quart Jar) |
|---|---|
| Fresh venison meat | About 2 pounds, trimmed and cubed |
| Salt (canning grade) | 1 teaspoon |
| Ground black pepper | ½ teaspoon (optional) |
| Garlic powder | ¼ teaspoon (optional) |
| Onion powder | ¼ teaspoon (optional) |
| Boiling water or broth | Enough to cover meat in jars |
You can customize the seasoning according to your taste, but avoid adding thick sauces or flour as they interfere with heat penetration during canning.
Preparing Venison for Canning — Step-by-Step
Selecting and Preparing the Meat
Start by choosing the best venison cuts. Lean cuts like hindquarters or shoulders are ideal because excess fat can spoil canned meat over time. Trim all visible fat, silver skin, and connective tissues to ensure better preservation and texture.
Cut the venison into uniform 1-inch cubes. Uniform size helps ensure even cooking and safe heat penetration during the pressure canning process.
Pre-Cooking or Raw Pack Methods Explained
There are two primary ways to pack venison in jars before canning:
- Raw Pack: You place raw, cubed venison directly into sterilized jars and add boiling water or broth. This method retains more flavor and is simpler, recommended for beginners.
- Hot Pack: You briefly cook the venison in a broth or water before packing it into jars. This reduces the processing time but requires extra preparation.
For this canned venison recipe, the raw pack method is preferred due to ease and flavor preservation.
The Canning Process — Step-by-Step Guide
Sterilizing Jars and Preparing the Pressure Canner
Start by washing your canning jars, lids, and rings in hot soapy water. Rinse thoroughly. Place jars in simmering water (not boiling) to keep them hot until use.
Fill your pressure canner with the manufacturer-recommended amount of water. Preheat the canner as per instructions to ensure proper pressure build-up.
Packing the Jars
- Using a funnel, pack the cubed venison into the hot sterilized jars, leaving about 1 inch of headspace at the top.
- Add 1 teaspoon of salt per quart jar for flavor and preservation.
- Optionally, add pepper, garlic powder, or onion powder for enhanced taste.
- Pour boiling water or broth over the meat, covering it completely while maintaining the headspace.
- Remove air bubbles by sliding a non-metallic spatula around the jar’s inside.
- Wipe the jar rim with a clean damp towel to ensure a proper seal.
- Place the sterilized flat lids on top and screw on the metal rings just until fingertip tight.
Processing Times and Pressure Settings
Proper processing is vital for food safety. The USDA recommends processing meat at 10 pounds of pressure (15 PSI at altitudes above 1,000 feet) for the following times:
| Jar Size | Processing Time (Minutes) |
|---|---|
| Pint | 75 |
| Quart | 90 |
These times apply to raw-pack venison in a pressure canner. Adjust pressure based on your altitude following USDA guidelines.
Cooling and Storing the Canned Venison
After processing, turn off the heat and allow the canner to cool and depressurize naturally. Wait until the pressure gauge reads zero before opening the lid.
Use a jar lifter to carefully remove jars and place them on a towel or cooling rack, leaving space between each jar. Let them cool undisturbed for 12 to 24 hours.
Once cooled, check the seals by pressing the center of each lid. If it doesn’t flex up and down, the jar is sealed properly. Store sealed jars in a cool, dark, and dry place.
Tips for Best Flavor and Safety
- Avoid overpacking jars; this can prevent heat from penetrating evenly.
- Use fresh, high-quality venison for best taste and texture.
- Do not add thick sauces or fillers that can affect processing safety.
- Always follow pressure canner instructions carefully to maintain required temperature and pressure.
- If a jar does not seal correctly, refrigerate and use within a few days.
- Label jars with the date and contents for easy inventory management.
- Check canned venison periodically for any signs of spoilage such as bulging lids, leaks, or foul odor.
Serving Suggestions for Canned Venison
Your canned venison is versatile and ready to use directly from the jar. Here are some tasty ideas:
- Hearty Venison Stew: Combine canned venison with potatoes, carrots, and onions. Simmer until vegetables are tender.
- Venison Chili: Add canned venison to beans, tomatoes, and chili spices for a comforting meal.
- Venison Stroganoff: Use canned venison in a creamy mushroom sauce served over noodles.
- Venison Tacos: Warm canned venison with taco seasoning and serve in tortillas with your favorite toppings.

To reheat, gently warm the meat in a saucepan or microwave, ensuring it reaches a safe internal temperature.
FAQ About Canned Venison Recipe
What is the safest way to can venison at home?
The safest method is using a pressure canner to process the meat at the correct pressure and time. Always follow USDA guidelines for pressure and processing times.
How long does canned venison last?
Properly canned venison can last 1 to 5 years when stored in a cool, dark place. For best flavor and nutrition, use within 1 year.
Can I use the same recipe for other wild game meats?
Yes, similar canning methods apply to most lean game meats like elk, deer, or moose. Adjust seasoning to taste.
Is pre-cooking venison before canning necessary?
No, you can safely use the raw pack method, which saves time and retains flavor.
What are the signs that canned venison has gone bad?
Watch for bulging lids, leaks, foul odors, discoloration, or mold. Do not consume if you notice any of these.
Print
Essential Equipment and Ingredients for Canning Venison
Description
A comprehensive list of the equipment and ingredients required to safely and efficiently can venison at home.
Ingredients
Instructions
- Sterilize your canning jars, lids, and rings in hot water. Keep the jars hot until use.
- Prepare venison by trimming off all fat, silver skin, and connective tissue. Cut into uniform cubes.
- Pack raw venison cubes into the sterilized jars, leaving 1 inch of headspace.
- Add 1 teaspoon of salt per quart jar. Optionally, add other seasonings like pepper, garlic, and onion powder.
- Pour boiling water or broth over the meat, ensuring it is covered. Leave 1 inch of headspace at the top.
- Wipe the jar rims with a clean towel and place sterilized lids on top. Screw on the metal rings just until fingertip tight.
- Process the jars in a pressure canner according to USDA guidelines for venison, adjusting for altitude.
- After processing, remove jars and cool them completely before checking the seals.
Notes
Ensure to follow proper food safety guidelines when canning meat. Always check seals and store jars in a cool, dark place.
- Category: Canning, Preservation, Venison
- Cuisine: Preserved Food, Wild Game
Conclusion
Now that you have this step-by-step canned venison recipe, you are well-equipped to preserve your wild game safely and enjoy delicious venison meals year-round. Remember, attention to detail in preparation, seasoning, and pressure canning ensures both safety and flavor.
Why not try this recipe today? Stock your pantry with home-canned venison recipe and experience the convenience of having nourishing, ready-to-use meat whenever you need it. Feel free to share your results or questions in the comments — your journey to mastering venison canning starts here!

